I'm up on the a2z Scrapbooking blog today with a Clean And Simple card that goes along with our May challenge. I used multiple colors of embossing powder for my Forest Background stamp.
This next card isn't CAS at all, it has heat embossing and cream lace like the first, but I stamped the Antique Rose on text paper, watercolored the image with Distress Inks, and then took a patterned paper from Stampington and Company (you get free paper in each mag).
I inked the paper and stamped on some text, added green stamped paper, brown vintage lace and gold accents with puffy stickers from American Crafts and gold ribbon from my stash. Lots going on here.
I tore and curled the edges of the text paper and I'm really happy with how it turned out, it's prettier irl with the gold and pinks and brown.
Are you a Clean And Simple Crafter or a Vintage Pile-on-the-fun crafter?
Happy Monday!
Chark
Thought I'd give you a little sneak peek at the project I have over at a2z Scrapbooking this week. You can head over there to get a better look, but I do want to tell you how much I love gold embossing! I bought some Zing gold powder and used it on my butterflies from Hero Arts and it turned out beautifully. I ended up embossing lots of stamps in this gold just because!
I stamped on watercolor paper and painted the background and the butterflies.
Hope you'll emboss some of your Hero Arts products and join us this month in the February Challenge. You could win $25 to the store, where all the new Spring Release goodies from Hero Arts are available! And, don't forget, you can whisper my name to get a discount just for my readers. Ok, you actually type in CHARK15 to get 15% off, but it sounds more fun this way. All month we're highlighting embossing of all kinds to inspire you. My friend, Barb, has a beautiful heat embossed project up over there today—pop over for a visit!
From the new Spring Release, I think I may need to get a monogram stamp like this to make some gifts for relatives.
And I already bought this fun set (there are congrats and thanks and hello sets too) and can't wait to get started. So versatile! Send the owner of a2z an email and ask for a product if it's already sold out. She can get more! And you can get your 15% discount! Love new stamp goodies!
Happy Wednesday!
Chark
So, the teenaged boy of mine is growing by inches daily, it seems. I bought him some new jeans in the fall, and he's already growing too tall for them. And the leather jacket he had to have last year? The sleeves are too short. Sigh. I'm not buying another coat right now (and definitely not a leather coat), so I started thinking of solutions.
When my daughter was young and growing like a weed, I could add ribbon to the bottoms of her cuffs on pants and shirts to make them last a little longer. I was pretty sure the boy wouldn't take to that idea. So, I remembered seeing a leather coat with flannel cuffs and lining. I thought maybe I could do that, even though I am perhaps the worst seamstress in the history of sewing. Sewing is SO not my thing. I'm more of a "hot glue it and call it good" person.
Once I got online, I found that some people use sweater sleeves to make a jacket sleeve longer. And then—Eureka! I found someone who made cuffs for a jacket from socks! Now, I loved this idea because we had black socks aplenty and I wouldn't have to go find a black sweater to cut up.
So, I did it. I actually got out the sewing machine and sewing kit and made cuffs for the jacket. They turned out all right and it was free!
1. Cut socks like this. Machine stitch the cut edge to prevent unraveling.
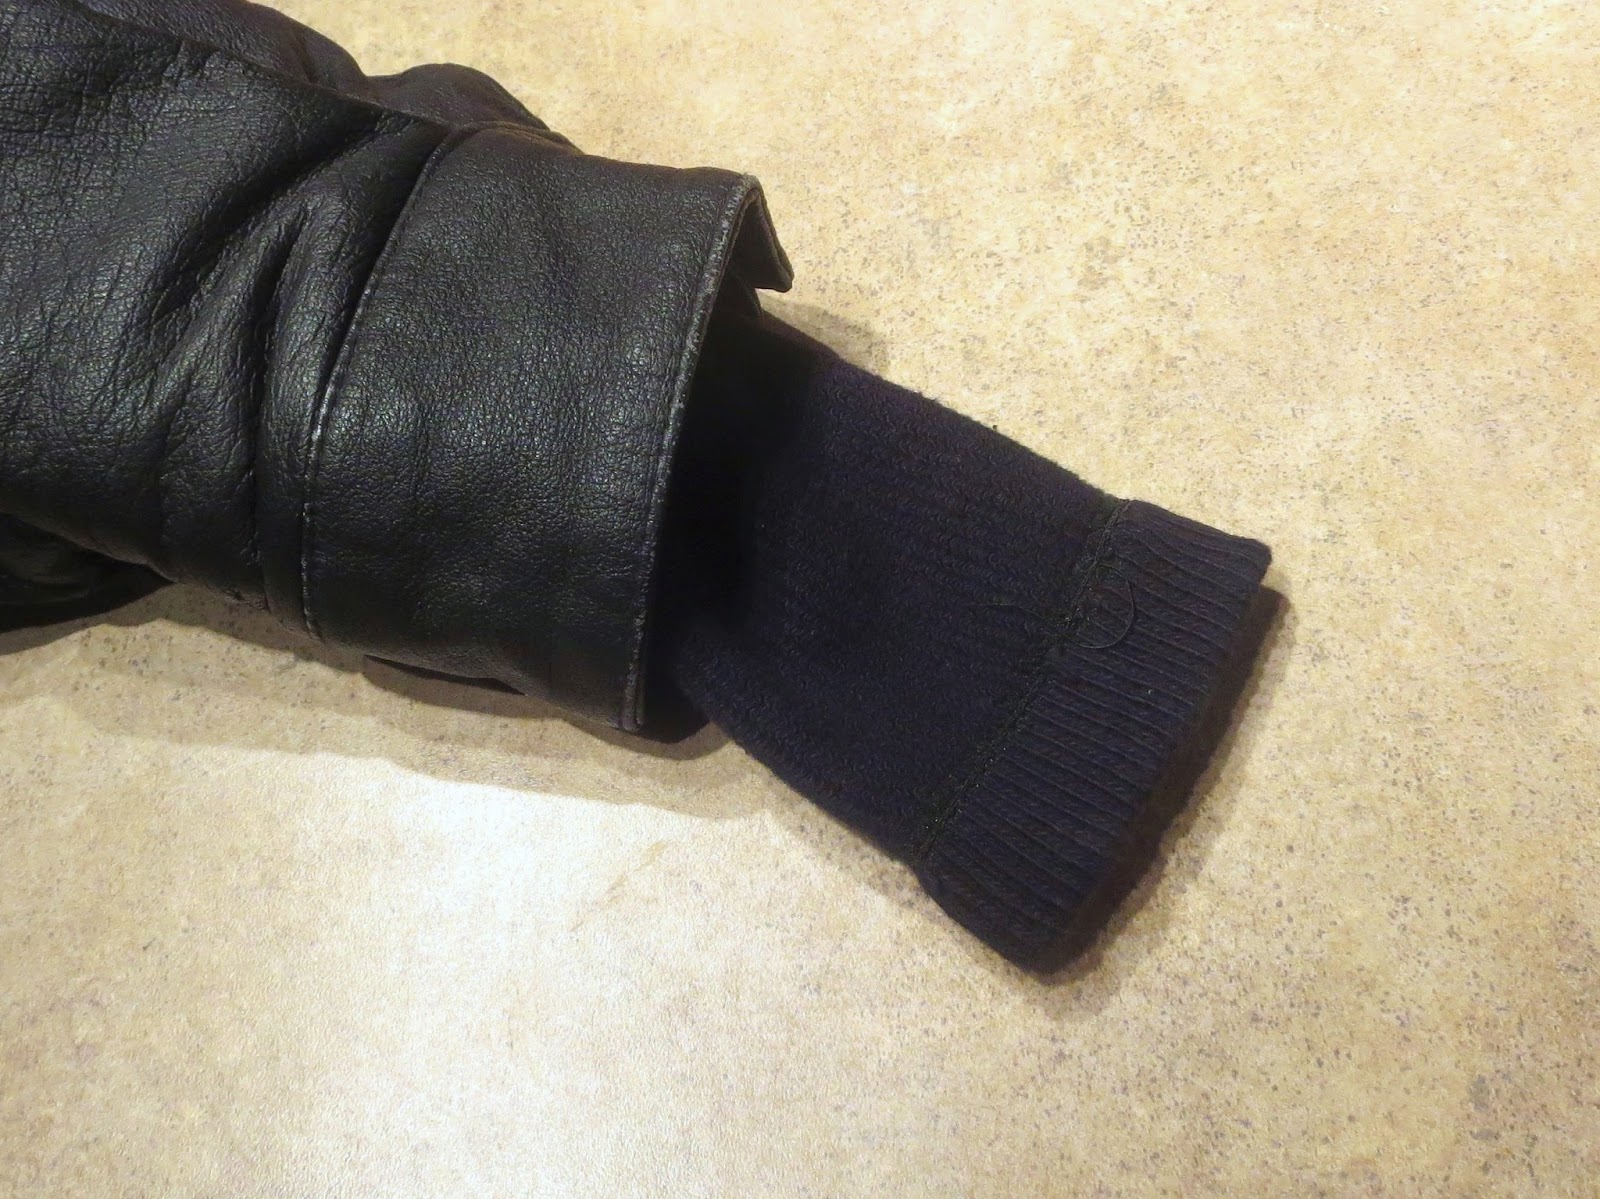
2. Turn the sleeve of the jacket inside out, slide the sock around the sleeve and hand stitch the sock (cut and sewed end) to the lining of the jacket.
3. It'll look like this when you've finished.
4. Turn it inside right. and it looks like this.
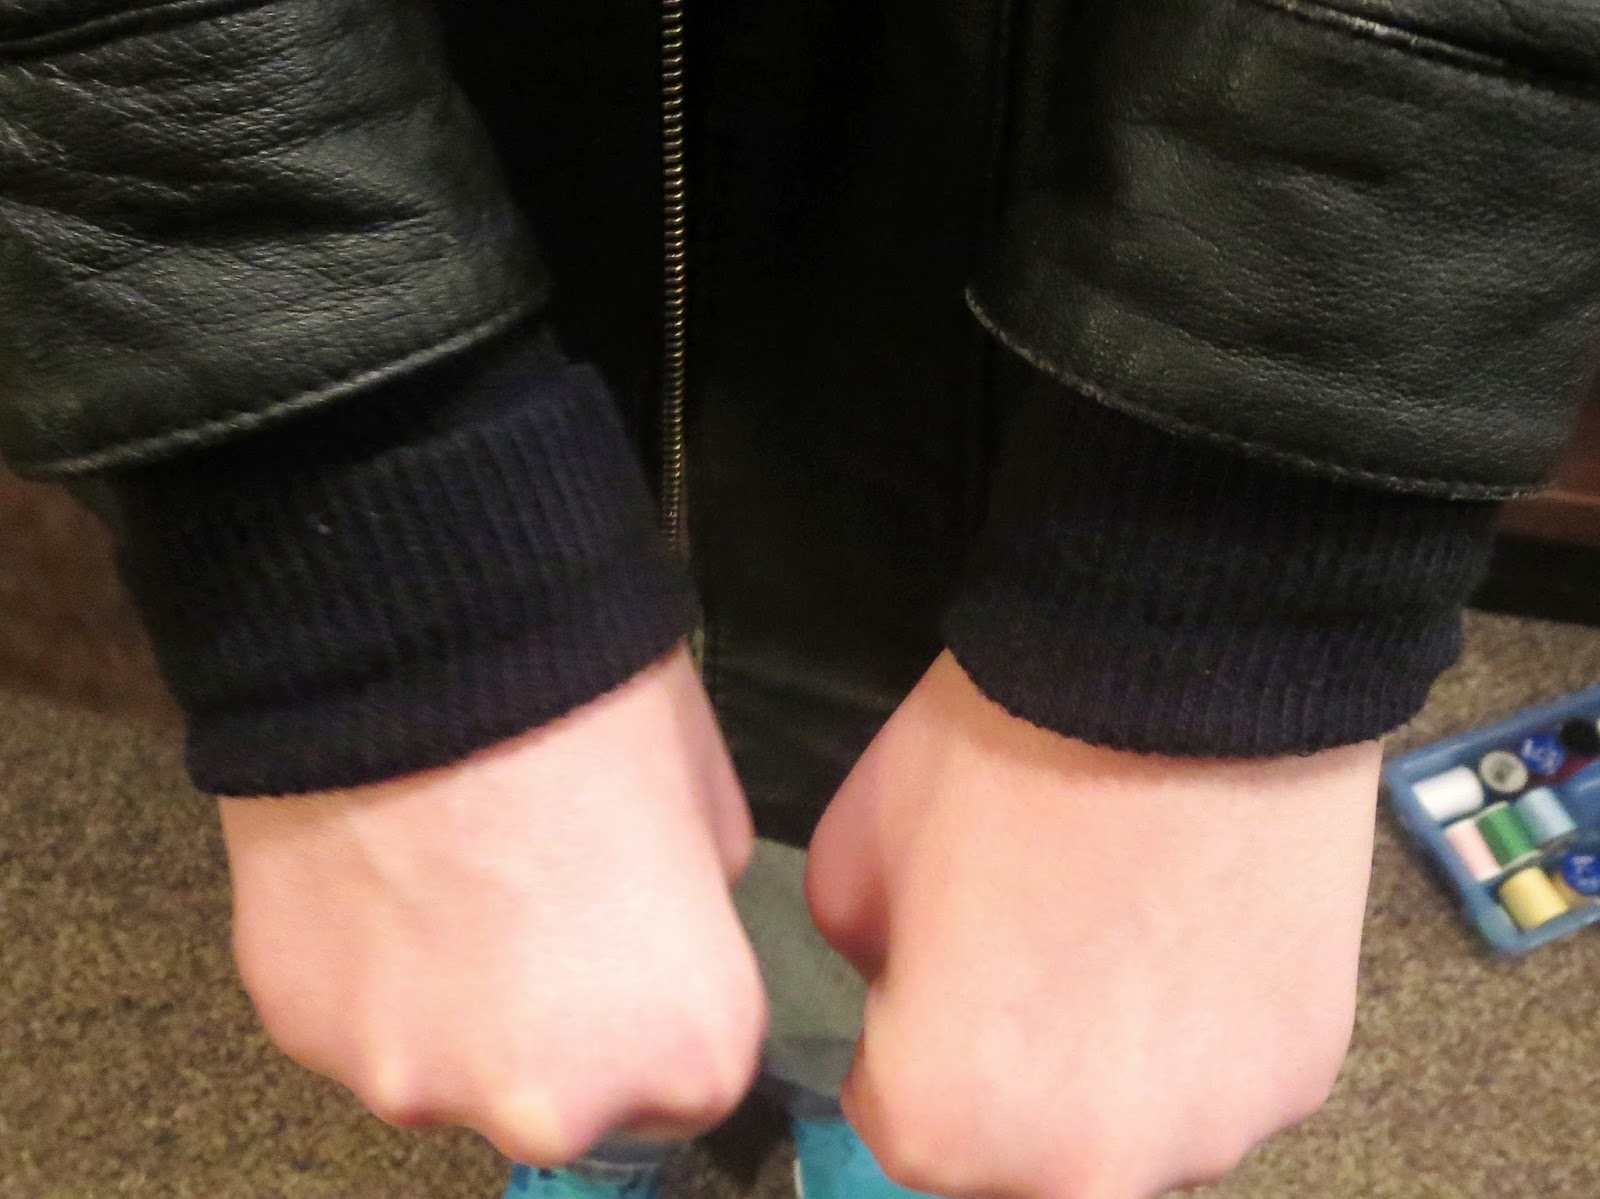
5. Have your taller-than-you son try on the jacket, and fold back the sock cuff and it'll look like this. Whew! We might make it through the season without buying another coat. Maybe. And he's even thinking I'm clever and helpful and that it looks good. That's a win right there! Now if I can keep him from just pulling them off in the day-to-day wear and tear of his clothes, I'll be happy.
Here's another card I'm adding to my stack for the nursing home residents. It uses a Papertrey Ink stamp and Hero Arts bg paper. I think I should've gone with silver for the hello with these blues...hmmm...yep, I'm going to need to change that. Off to fix it!
Happy Friday, my friends!
Chark