Showing posts with label stickles. Show all posts

Monday, May 6, 2019

All That Caffeine Is Paying Off

I have a second project today for the Coffee Lover's Blog Hop for Spring and Summer.


This time it's a card, using this cute coffee cup paper from Pretty Little Studio.  I added one of their wooden look tags and two dies that I stickled with Diamond (they came with my new Gemini Jr!). The little typewritten word stickers are from PLS as well and I just added the ones that worked for this card.


I think I might add a little string to the tag as a finishing touch...photos always make me see my work in a new way and sometimes it's helpful!

Happy Sunday,
Chark

Friday, February 22, 2019

Die Cuts are Challenging

So, I got this fabulous dragonfly cover die from Stamplorations and love it. I sat down and cut like 10 of these from different colored cardstocks and papers. I had to use different shims, and cut face-up for this to cut best, and the 80 lb. paper I had worked very well. If you have some challenging dies, don't be afraid to ask the seller for help. The folks at Stamplorations had great tips. I love the classic black, especially with this watercolored background (I used my Arteza markers as paints).

I put the die cut down on the card after it dried and did a little more focused watercoloring for the dragonfly, just by swiping the marker in each open spot. I removed the die cut and spread the color around in the wings and body.


Then I glued the dragonfly cover die on top and added Stickles to the wings and a silver paper Hello die from Paper Smooches. 


You can see the shimmer a little better here.


I'm entering this card into the Cutplorations February Challenge...I was inspired by the colors in this.


You have until February 28th to join in here!

Happy Friday, 
Chark


Monday, March 12, 2018

Hero Arts Dragonfly Fancy Die

You guys! I've been making all kinds of dragonflies at my house with my new Dragonfly Fancy die. I've used vellum, cardstock, metallic paper and more. Here's a pile of them.


And here are a couple of my faves. This one uses green metallic painted paper (using Twinkle H2O paints) and vellum wings with Stickles glitter on the vellum.


This one uses white cardstock with Diamond Stickles for the body and blue metallic paper for the body. 


And I've made a couple cards with these guys too. I'll be sharing those on the a2z Scrapbooking blog on the 21st, so hop over to see my very favorite dragonflies on their cards. 

If you want to make your own lovely dragonflies, you can get the new die over at a2z Scrapbooking for just $11.95! If you fill your cart with items to total $25, you can apply my blog readers' code DLT15 to get 15% off your cart. Just a little extra for my crafty friends.

Happy Monday!
Chark

Tuesday, September 19, 2017

MFT Bears N Balloons

I used the adorable Birthday Bears stamp set from My Favorite Things to create this card. I used the Circle Flop Card die on the edge of a side folded card to fold back the corner of the card. 

I used MFT Fun & Frolic patterned papers inside the card, using dots on one side and stripes on the other. The cardstock is an aqua from Core'dinations. This is my entry for the Innovation Master Card Design Superstar. It's a fast and easy way to make a fun fold that fits in a regular envelope.


I colored the bear with Prismacolor pencils, inked the balloons and circle die with Distress Oxide Inks and then add a half circle from the same die to make a little leaf-covered hill for the bear to sit on. The hat and bow are from the same stamp set. I fussy cut everything and attached to the card front. 

Then I added glitter in the form of Diamond Stickles. I dotted them on the circle die cut and then after letting them sit a minute, spread the glitter glue with my finger. That way, the Oxide inks react with the Stickles and leave polka dots. The balloons I left as is and didn't move the Stickles. You can see more of the glitter in the close-up pic below.


I love this bear set and am having a blast coloring the stamps. You've got a couple days to enter the contest, so break out your MFT goodies and get working!

Happy Tuesday!
Chark

Friday, September 8, 2017

No Stamping Holiday Cards

While I love to stamp, I'm not really that great at it (tho the MISTI has greatly helped) and sometimes it's more trouble to get out the supplies than I have time for. For this card, I used an embossing folder and some dimensional, glittery stickers to make a holiday card.


It came together very fast and I can just write a sentiment inside...or I can break out the stamps and put in a more polished greeting. Either way, this card is so fast and easy. I love embossing on metallic paper, it seems to really make a statement with very little effort. Here's a close-up of the gold embossing.


For this next card, I embossed die cut plates into white cardstock and then layered them. Then I took a preprinted acetate scene, added Diamond Stickles to the back of it and adhered when it was dry. 

Another fast and easy card with no stamping. I'll break out the stamps and inks soon, but honestly, it's a mess when I'm finished! I should try to be more organized when creating. Bwahaha! Who am I kidding? That is NOT me :)


I did just purchase a magnetized bowl meant for the workshop and screws and whatnot. I saw someone had one for their little dies and I'm forever misplacing those while working, so I'm hoping to stop losing those with this bowl. Gotta keep it away from the computer though!


Happy Friday!
Chark

Friday, August 25, 2017

Snowmen on Parade

Hi, friends, I have some more snowmen cards to share with you today. I got this fab paper from The Plaid Daisy and by cutting it up, was able to make a lot of cards with these guys. Here are some of the parade of snowmen cards I made.


I used four different images and added a punched snowflake center and a sticker. Didn't do another thing to this one...these little guys are just so cute, they don't need a lot of fuss.


For this one, I chose one snowman for this glittery die cut background. I used a favorite Triangle Die from Hero Arts and cut both purple glitter paper and aqua cardstock and then offset them so you could see both papers. I adhered them to the yellow cardstock and it looks much more complicated than it is. The die is older but it is so fun to use and this store has one in stock! It was new in 2014 and if you click this link, you'll find a lot of my projects with this die from over the years. And you'll see I really do love it!


For this guy, I used a yellow ink dauber to color the white card, then added some Bo Bunny blue dot paper and some rainbow dot paper from Doodlebug Designs. The little dots are matte (not shiny) enamel dots from Doodlebug in shades of pink.


The last card in this batch includes a heart that was already embossed with the word. I just watercolored it with my Tombow markers. The snowflakes are from a variety of Hero Arts stamp sets (similar to this digi stamp) and stamped in pinks and blues. I added some Ice Blue Stickles to add a little sparkle. 


You can click this post to see two more snowmen cards with this paper (and a little more work with stencils). I'm telling you, this sheet of paper was my best purchase yet—useful, cute and on sale! 

Happy Friday,
Chark


Wednesday, February 22, 2017

Glittered Butterflies Are The Best

I got this acetate butterfly in a class about a year ago and I ended up not using it on the project we made. So, he's just been sitting around, waiting. I needed an easy card and had a Lawn Fawn Spruce wood grain card with the LF word 'hugs" die cut from it. I thought the butterfly would be a great focal piece, so I glittered him up with Peacock Stickles—my favorite form of glitter—and adhered him to the front. 


That was fast and easy and fun. I love the look of glitter behind acetate. I searched high and low and found the butterfly printed acetate if you want to try your hand at coloring or glittering this beauty and here's the link.

I think a couple sequins or pearls or something might be okay to add to finish it off...and I actually like the text page behind it that I used for photographing purposes, so the next one I might add text paper or washi.

Interesting how I can see the flaws in a card in a photograph vs real life :) It's actually helpful, but I might want to do it before uploading so I have time to tweak the card for the blog. Or not!

If you like the idea of glittering acetate, you could check out this post on shading with glitter on the ArtGlitter Blog...it's pretty cool.

Or if you're feeling saucy, check out the Martha Stewart video on glitter painting...I may get brave and break out the real glitters instead of the Stickles! :)


Happy Wednesday,
Chark

Wednesday, December 28, 2016

Transparency Card

Today I'm sharing a simple birthday card I made for my nephew who's a bit artsy. I thought he might like this landscape image framed in gold paper. The transparency is printed with the image and I added Diamond Stickles behind the image, trimmed and then adhered to white paper. I mounted it to some gold paper so it looks like a framed picture.


Since it's a printed piece of acetate on shiny gold paper, this one was tricky to photograph, but if you look closely, you'll see the glitter behind the scene.


I had a class that used these printed transparencies with glitter paper behind it and thought it was beautiful. You can buy the transparencies here at my favorite art magazine site. They have a store too! Here's another post with the printed acetate.

I love how quickly this came together and I think he'll appreciate that part too as I am (as usual) late with my birthday cards...oops! Actually that's something I plan to change this year, to be on time with birthday cards, so wish me luck!

Happy Wednesday!
Chark


Thursday, July 14, 2016

Mermaid Love in Ombre

To enter A Day for Daisies' new 2-color challenge, I used my fave colors, green and blue, to color up this adorable mermaid. I fussy cut her and then mounted it on cardstock that I stamped with my favorite water drop stamp by Designs by Ryn in different colors.


I printed this digi as a 4x6 image, used my blues and greens from my box of Prismacolors, added scales with a black pencil and then marker and added white highlights with a gel pen. After that, I used Diamond Stickles for her whole tail, though you can only really see it the end of her tail. Then I put some sequins in some of the water drops and I decided to stop decorating. 


I love the classy, free-flowing drawings at ADFD, and the fact that you get a free digi for the challenge if you don't own any of their stamps. But once you start browsing their store, I'll bet you find something you gotta have. I know I always do!

Happy Thursday!
Chark


Monday, May 23, 2016

Dorothy in Full Color

I made a Dorothy card for my oldest sister's upcoming birthday. Me and my two older sisters have a thing for the movie The Wizard of Oz...mostly I think because we always sat down together at Easter time to watch it and for girls who are 11 years and 7 years apart, finding something we could all agree on was kinda rare.

There's something magical about the Oz story, literally and figuratively. A girl can go on adventures by herself (okay, with her dog), be alone, make friends, make enemies, be scared and be brave and then end up safe and sound back home. Plus, she gets to wear fabulous shoes and sing wonderful songs!

Here's my card featuring Latina Crafter's Dorothy clear stamp. They have some cool products and they're based in the U.S. They usually support the Coffee Loving Blog Hop and that's how I found them. I still have some wood veneer nerd glasses I haven't used yet--they're too cute!


Since the opening sequence of the movie, starring Judy Garland, were filmed in sepia (but then shown in black and white for some reason), You get to see the sepia/color versions of the card :)

I added the plaid to the skirt and Red Xmas Stickles to her shoes and lips.

And here's one of my favorite Pentatonix songs called The Wizard of Ahhhs...they are an amazing a cappella group and my daughter introduced me to this compilation song. 


Happy Monday!
Chark


Wednesday, January 20, 2016

What Day Is It Again?

The day off on Monday threw me off, I almost forgot to post on Wednesday, thinking it was Tuesday. And we didn't even have a snow day to add to the confusion, just the holiday. Ah well, these things happen.

Today I have a card made with a Neat and Tangled die. Love this geometric heart. I cut it out several times and then used different papers to fill in. In the white spots, I added Diamond Stickles. The heart insides and the outline are from paper that I had spritzed with my Dylusions ink sprays...loving those things!


I used my large and small ink daubers for the circles (with Distress Inks) and then some washi that my crafting friend, Karen, sent me out of the goodness of her heart. She also did a giveaway for those Tim Holtz Crazy Birds and I won those, and immediately inked them up. I'll share that project soon. Thanks for the extra washi tapes, Karen!


Entering the Little Tangles challenge here, hope you'll join in! They have some cute freebies if you don't have any Neat and Tangled stamps...this "hello" is one of them. 


Happy (last few minutes of) Wednesday!
Chark


Wednesday, January 13, 2016

Am I Dylusional?

So, I love the new Dylusional Spray Inks and Paints. I think it's a play on words with the artist Dyan Reavelely's name. I'm not so delusional that I got that spelling messed up, although it is pretty early for me.


I got four sprays for Christmas and put them to use one day. Now, I'm never a neat crafter to begin with, and when I get spray inks and paints, well, everybody better take cover. I made a huge mess in the garage and I should've taken a picture of my hands by the time I got finished, because they were an epic mess. :)
 
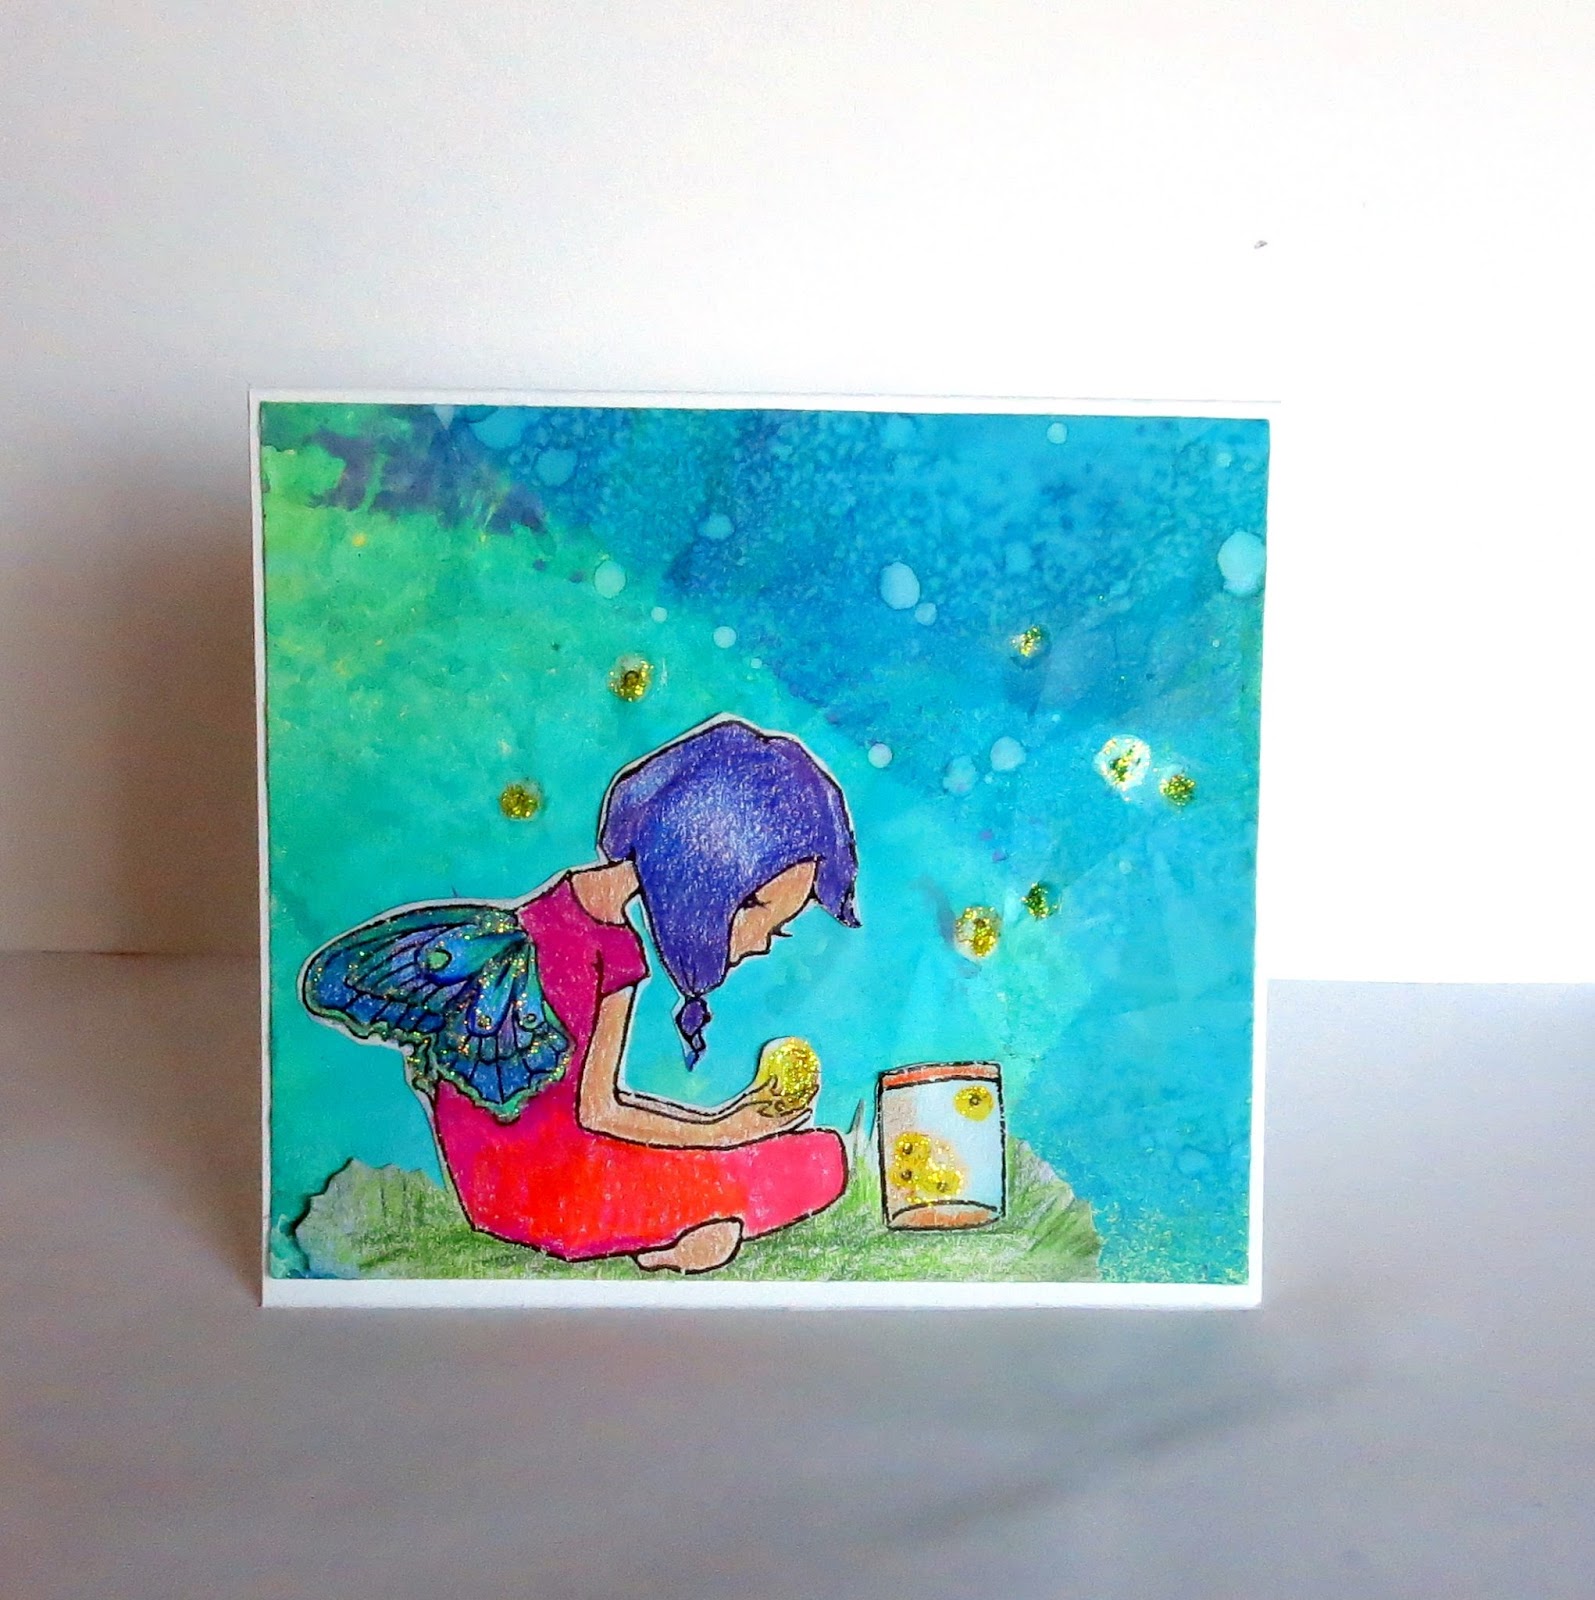
But I did get some beautiful papers with the inks...one of which I'm using today for my A Day For Daisies digi stamp. Isn't this an adorable scene? I made it into a card after I colored with my Prismacolor pencils and fussy cut the image out. 


I kept thinking I should add something to the card, but the whole scene actually felt complete to me, so I'll add a sentiment inside and that will be that.

I did, of course, use Stickles to make it shine. Diamond on her wings and Yellow on the fireflies.

I gave her a little grassy hill to sit on too. The variation in the sprayed paper looks like dusk to me, with the sky changing colors into nighttime. I also  took the paper and ran it through the Big Shot with an embossing folder for some subtle variation.

Here's a close-up of the glitter.


I'm entering this in the Anything Goes Challenge over at ADFD, hope you'll join me! You can use their freebie to play along and hopefully win some beautiful images from the store...your choice!

Happy Wednesday!
Chark

Friday, November 27, 2015

Glittery Favors

We all know I like the sparkle of glitter and dislike the mess...which is why Stickles are my favorite supply in the world. Today I've used it to make some favors for a shower or wedding or even a holiday dinner for family.


This one just Stickles on the plastic/metal lid and takes no time at all.


For this one, I used a permanent marker to color the inside of the lid purple, then added purple Stickles on the top. I cut the A from a sheet of adhesive rhinestones I found at Jo Ann's and adhered it first, then added the Stickles around it.

These were especially easy and you could make a lot of them very quickly. Fill them with mints or little candies and you're set for a big gathering.

I found the favors at The Flower Factory, but I'm guessing you can find them just about anywhere.

Happy Friday! 
Chark

Wednesday, September 16, 2015

Glitter Makes Me Happy

I'm in the middle of creating a project and decided to add crepe paper rosettes to the project. Afterward, I decided I ought to distress the crepe paper or somehow add to it and I thought of glitter. Instead of traditional glitter, I went with Stickles Gold and rolled the edges of the rosettes in a pile of glitter glue. Love it!


The only real trick to making these is to cover the base circle with adhesive. I used tape runner and at first I missed some spots and it showed, so I tried again and completely covered the circle before adhering the crepe paper. Much better results.

And while I'm feeling the vintage vibe, here is some Baby Advice from 1947 from my Baby Care Book by Better Homes and Garden.

Training to the Chamber
Prepare the smallest size chamber by dipping it in warm water to take off the chill. Place him on your lap, or lay Baby on the bath table on his back. Next put the vessel against his buttocks...After a time Baby will begin to strain and attempt to have the movement when the vessel's applied.

All of this to say, if you want to start potty training your 2-month-old, knock yourself out. It'll be tricky, because you'll have to time it right and keep track of when Baby normally goes and his food intake, but Baby will start to get it. They do advocate waiting until Baby can sit up well on his own (6 months) so you can put him on a "potty" chair (their quotes, not mine) and leave the room for 10 minutes for him to do his business. 

Do you think this actually worked for anyone? It sounds like a lot of work for the mom...and in 1947 it was all mom's work. Though they do have this one photo of the dad holding the baby. The other million are of the mom.


Happy Wednesday!
Chark


Tuesday, January 27, 2015

Craft Stamper Magazine Entry

So I stumbled onto this challenge over at Craft Stamper Magazine and the prize was so amazing, I had to jump in. The challenge is an easy one too—use a non-digi stamp to created something. Love how open this one is. And since I've set a goal to make a boatload of cards in the next few weeks for the nursing home, stamping was right up my alley this week.

Here's the card I'm entering and planning to give to a nursing home resident. I used the Flower Burst cling stamp from Hero Arts on patterned paper, added a premade sentiment that I jazzed up with Stickles and then added gray pearls for the flowers. Hope this cheery palette makes someone happy.


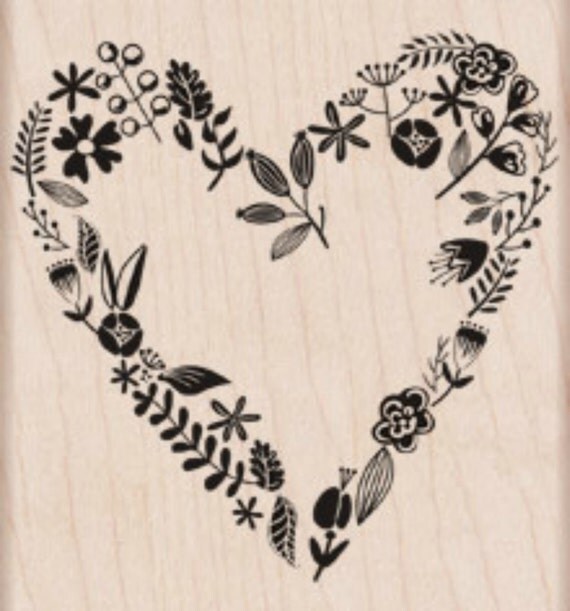
Just in case you're looking for some good stamps, a2z Scrapbooking Supplies has some on sale right now. If you like Hero Arts, this is a great place to shop. This little beauty is just $5.50. It's perfect for Valentine cards or tags.


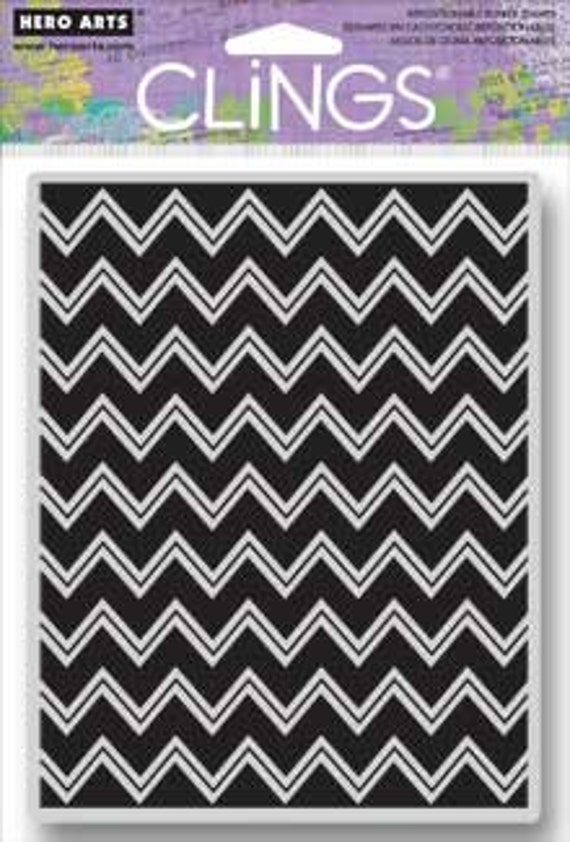
And this one is a cool background stamp that I'm thinking I need. I'd love to try this in a tone-on-tone aqua card. I love how background stamps give you interest without the bulk of layers—especially when you're mailing cards. It's a great deal at $6.00. Better get over to a2z and get mine before they're gone!


Join me in the challenge, you have some days left! And get to stamping!
Chark

Friday, January 16, 2015

International Hot & Spicy Food Day

Yum! Except I'm not a too spicy kind of gal...so let's just call this Mexican Food Day because although I like medium spice, you won't see me with lots of heat in any culinary treats. Like, I won't eat a hot pepper for fun like my Aunt Mae does. And I won't put them on my pizza...but I do love Mexican Pizza with Azteca Salad Shells. You can find them in the refrigerated section at the store and just make taco salad with them for a fun lunch or you can make an appetizer of Mexican Pizza (I eat it for lunch too!). Here's one recipe that uses beef, but I usually leave it out and just do refried beans and cheese with the Salad Shells. Delish! And you can use spicy sauce or not. I go medium. Don't use salsa, it's too runny. But Taco Sauce or Enchilda Sauce is fine.


Here's a wintry birthday card to cool you down. Use Unicorn Ink on Kraft, edge in Distress Ink in Broken China, add sequins and Stickles and a greeting and you're finished! The glitter tape is Darice and I found it at the Five Below store near me. I love it cuz there's no glitter mess!


Happy Friday!
Chark

Thursday, December 4, 2014

Prima Fun Day 7

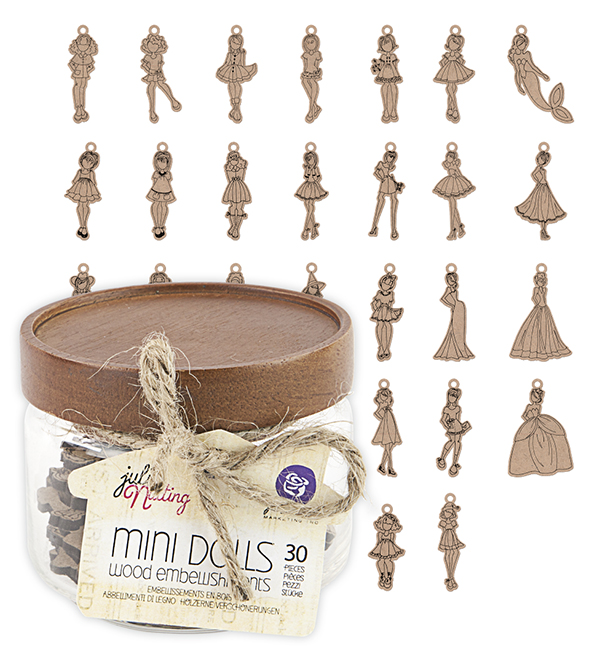
I've been following Prima's blog. I love their products by Julie Nutting—she has so much talent and her products bring out my creativity. She has tons of doll stamps, die cuts and accessories. My favorite want-to-get product right now is the little jar of mini wooden dolls. They're so cuutteee!


Prima is having a 12 Days of Christmas giveaway, so hop on over with me and play along! You have until December 8, so get cracking!

Here is my entry for Day 7—Say It In Crystals. I used mostly Prima products and added some red cellophane and extra pearls. I had to use my Stickles too, so I colored her hair and clothes with Xmas Red and Black.


I super love their Say It In Crystals bling, it's so shiny!

Happy Thursday!
Chark

Monday, October 6, 2014

Bring On The Glitter

I've been glittering butterflies like crazy over here (see here), using my best friend, Stickles glitter glue. I try to stay away from regular glitter, as I make such a huge mess with it, but with Stickles, I can get my sparkle and containment all in one handy product. Try Some Stickles Today! ok, end of my commercial...but I do prefer it over glitter :)


Here it is up close and personal. I used the Gold Stickles on this after inking it with Distress Inks and letting it dry. I stamped with Sta-On Black so it wouldn't smear and used Hero Arts Antique Engraving stamp set found here at a2z Scrapbooking Supplies. I love this set, it's so realistic and easy and fun to color. If you do a lot of flower stamping, the different-sized butterflies look fab with flowers. I used the Leafy Vines Hero Arts stamp for my background. The gems are also at a2z.


Now, remember, folks, if you love glitter but hate the mess, try the brand Stickles today! 


Oh, and just so you know, it is still possible to make a glitter mess with Stickles...if you smoosh it in a stencil, for example, your hands and the stencil will need lots of deglittering. Don't ask me how I know that. 

Happy Monday!
Chark

p.s. the content of this post does not mean the author has stock in Stickles and will profit if you buy it...but if she worked for Stickles, she'd be a very happy woman.